A couple of years ago I flirted with the idea of becoming a comic book colourist as a means of earning money on the side and to gain further insight in to the comic book publishing industry.
I purchased the DC Comics Guide to Coloring
http://www.bookdepository.co.uk/DC-Comics-Guide-Coloring-Lettering-Comics-Mark-Chiarello/9780823010301 from Book Depository to gain an understanding of the process DC Comics employ. I found this book to also be a great refresher for colour theory and applied a lot of this knowledge to my graphic design work.
For today's blog entry, I'm going to show you 6 fast steps of the Photoshop colouring process that I use when digitally colouring comic art for fun!
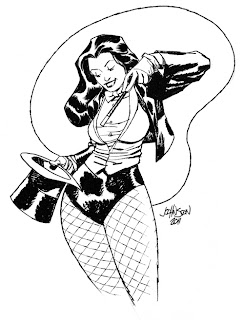
First up is the scan of the original art I purchased from Dave Johnson at Supanova Perth 2011.
 |
| Original Zatanna art - Dave Johnson |
This original piece of art by Dave Johnson is simply stunning. The composition is perfect. Take note of how the eye is lead from the top right shoulder of the figure down to the hand holding the magic wand pointing at the top hat. The jacket on the right side cuts into the negative space, the hair on the left counter balances the jacket. The directional lines in this figure are dynamically realised by a professional illustrator so I didn't want to alter too much of the line work in Dave's original drawing - it's all there to begin with so why mess with perfection.
My Photoshop Colouring Process in 6 fast steps.
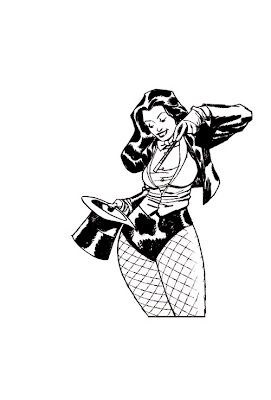 |
| 1. I edit the line drawing so it's easier to lay in the flat colour. You'll notice that I have removed the swirling border line drawn a horizontal line to close off the legs at the bottom. I also removed Dave's signature which I'll add again later. |
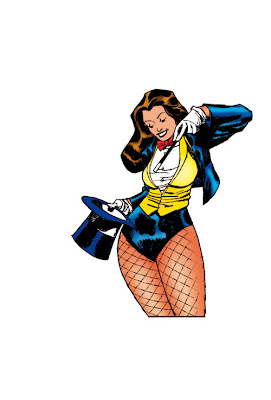 |
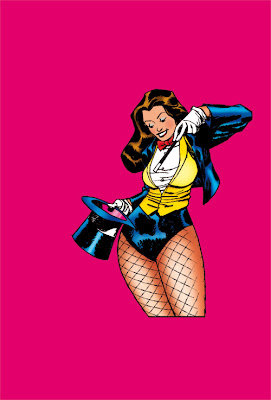
| 2. I lay in flat colour for the figure only. Creating a separate layer for each element which enables me to have control over each area should I choose to change the colour or add additional modeling techniques. The above image already shows some figure shading. |
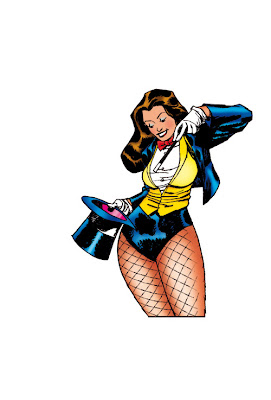 |
| 3. At this step of the process, I have completed the figure modelling completing highlights and shadows. |
 |
| 4. I add background colour . I find that having the background solid colour on it's own layer makes it very easy to change and find what colour will work best for the final composition. For example I can change the background colour to blue or red and this will have a uniform affect on the entire piece. It is important to note what the background colour or environment will be as this may affect some of the lighting/colouring choices that you will make. |
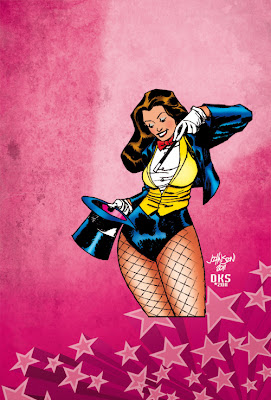 |
| 5. I experiment by bringing in different textured backgrounds to give the piece a sense of depth. I add a light source to lead the viewers eye to the figure's face and upper body. I also add 3D stars to the bottom right to act as additional leading lines towards the figure's legs. You will also note that I have included the original artists signature along with my digital signature to the background. I would never take credit for something that I didn't draw. |
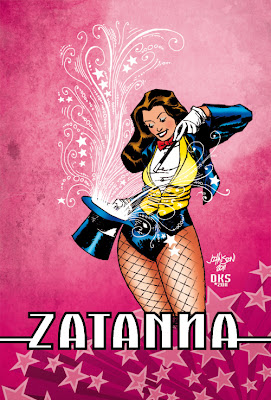 |
| 6. To finish off, I add some 'prestige' to the final composition by scanning in hand drawn swirls to emanate from the top hat. I also add the "Zatanna" logotype to mask the legs at the bottom. The logotype was created using Adobe Illustrator. Take note of the inverted N design element working to bring the logotype and figure together to form a cohesive design. |
We now have the finished digitally coloured piece. This was done for my personal amusement only and took about 3 hours to complete. I have a hard copy print of the final coloured work that I proudly display with the original art by Dave Johnson in my original comic art portfolio collection.
My original comic art collection can be see online here
http://www.comicartfans.com/GalleryDetail.asp?GCat=51215
Best wishes,
Damian :)


nice work vector artwork conversion
ReplyDelete